


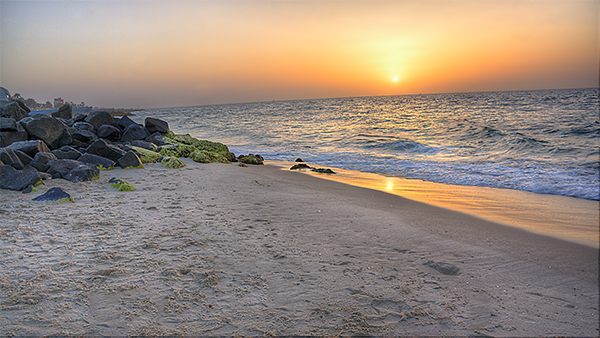
Here is another one of the “How to?” series. This time I was shooting a sunset view at the North Sinai beach. Having some interesting rocks around, was encouraging to create an HDR (High Dynamic Range) photo.
First, let’s see the Camera positioning. I was using a mid-sized tripod over the sandy beach. the whole Camera was tilted slightly as the beach itself isn’t leveled. I have decided to accept that rather than losing time trying to level the Camera. Getting that sun position and lighting level was more important for me than leveling, which will be adjusted later anyway during the processing stage.
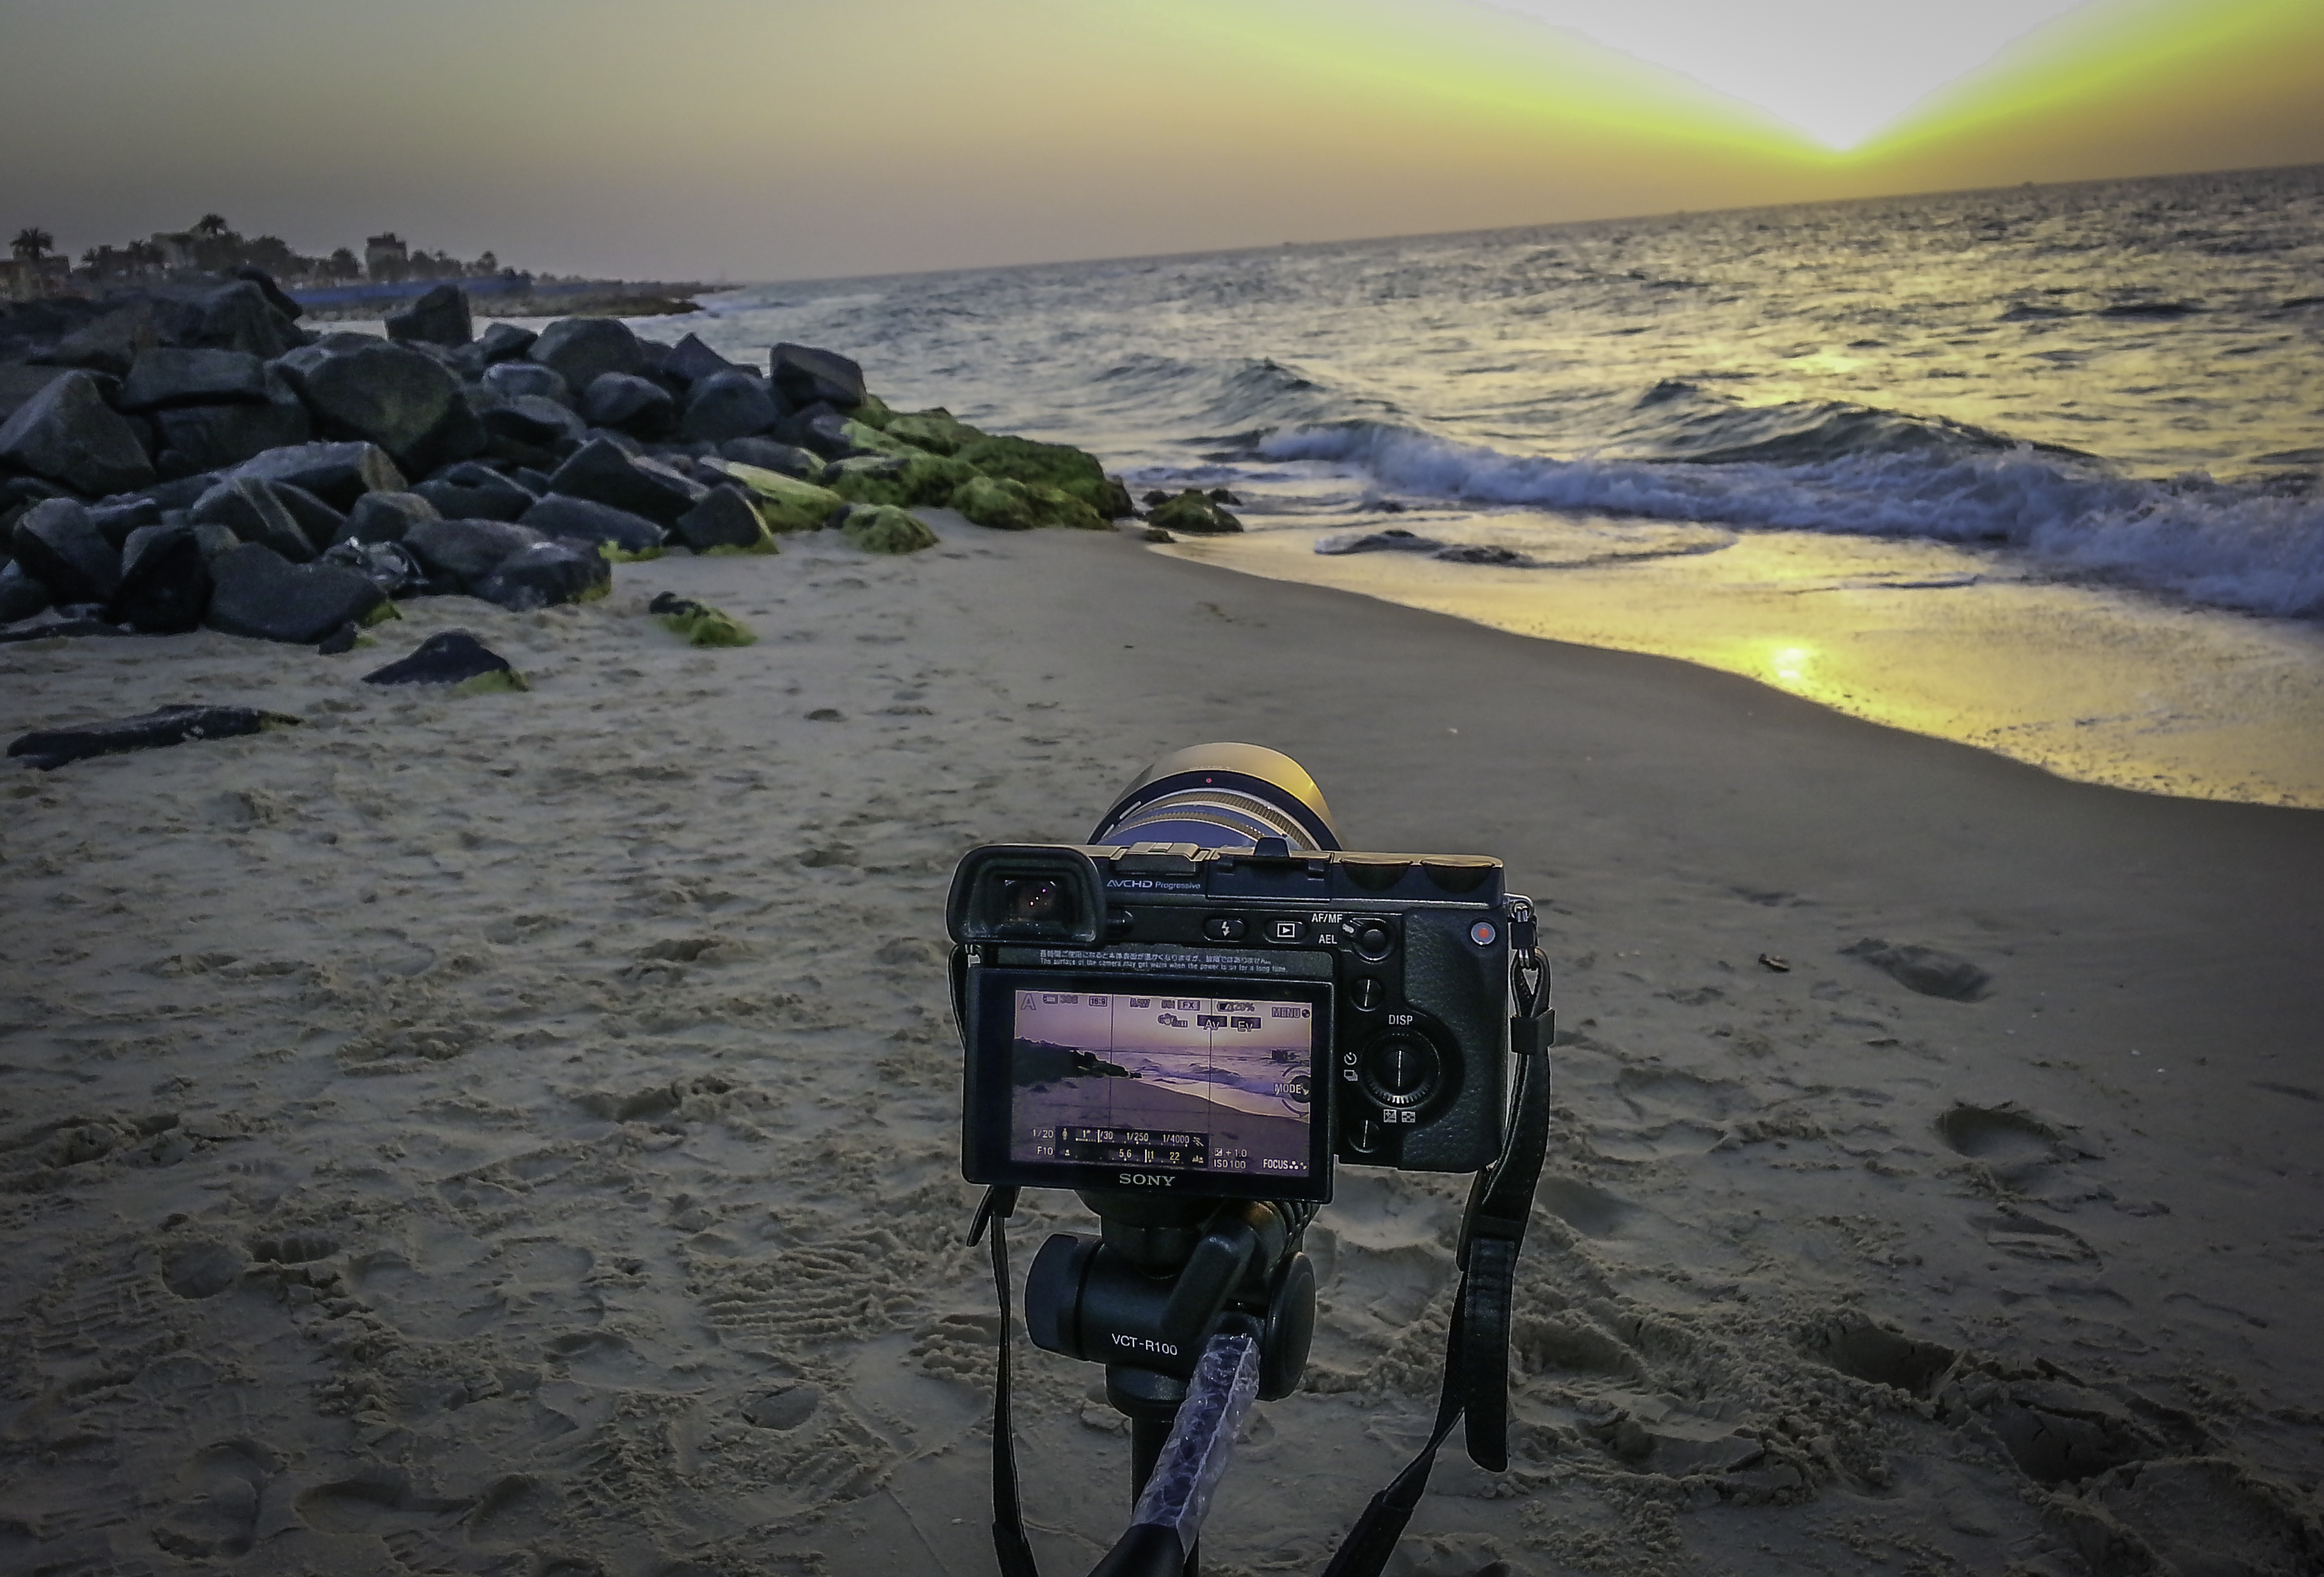
| This photo was taken by SAMSUNG Galaxy S3 and edited with Lightroom |
Now, let’s see what Camera settings were used.
Camera …………………. Sony NEX 7
Lens ……………………… 18-200 mm Zoom Lens
Camera Position ….. Tripod
FIle Format …………… RAW
Metering Mode ……… Pattern
Shooting Mode …….. Aperture Priority
Exposure Brkt. ……… Auto bracketing, 3 shots, -1, +1, +3
ISO ………………………… 100
Aperture ………………… F10
Shutter Speed ………. 1/20
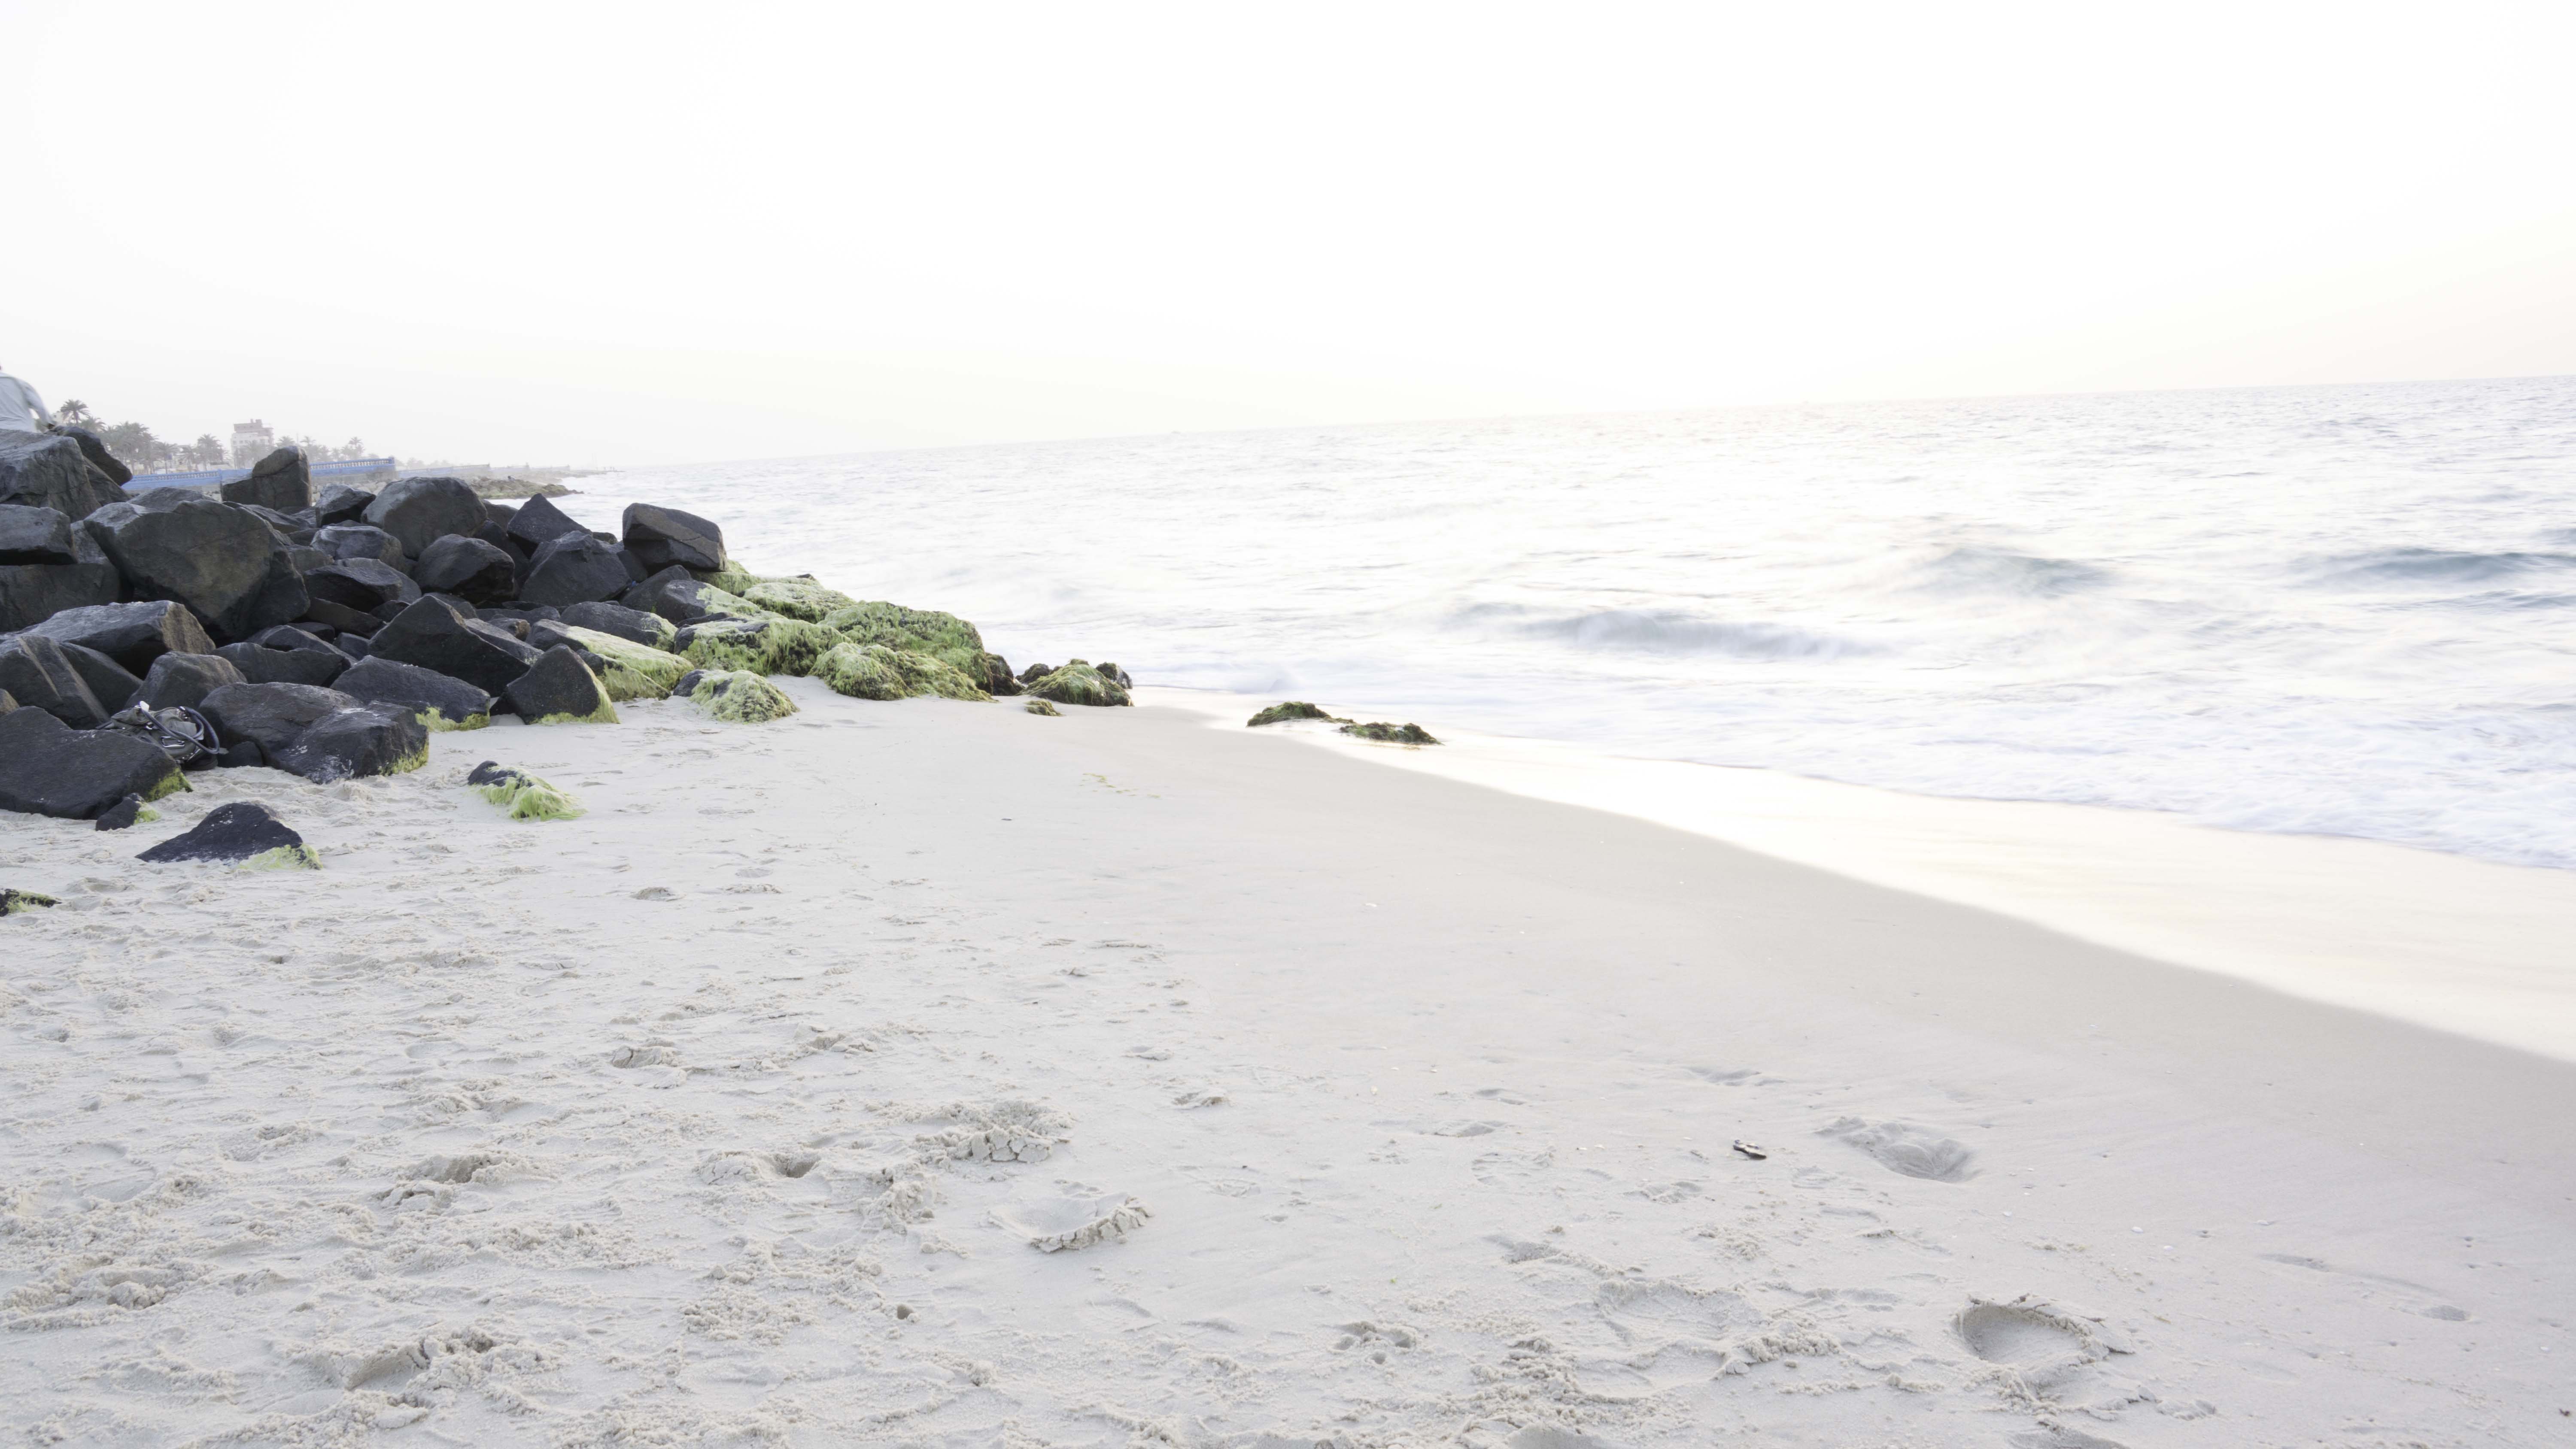
After extracting the three RAW files from the Camera, I have imported them into Adobe Lightroom and exported them to Photomatix. Below are how the original photos looked like.
+3 (Over Exposed)
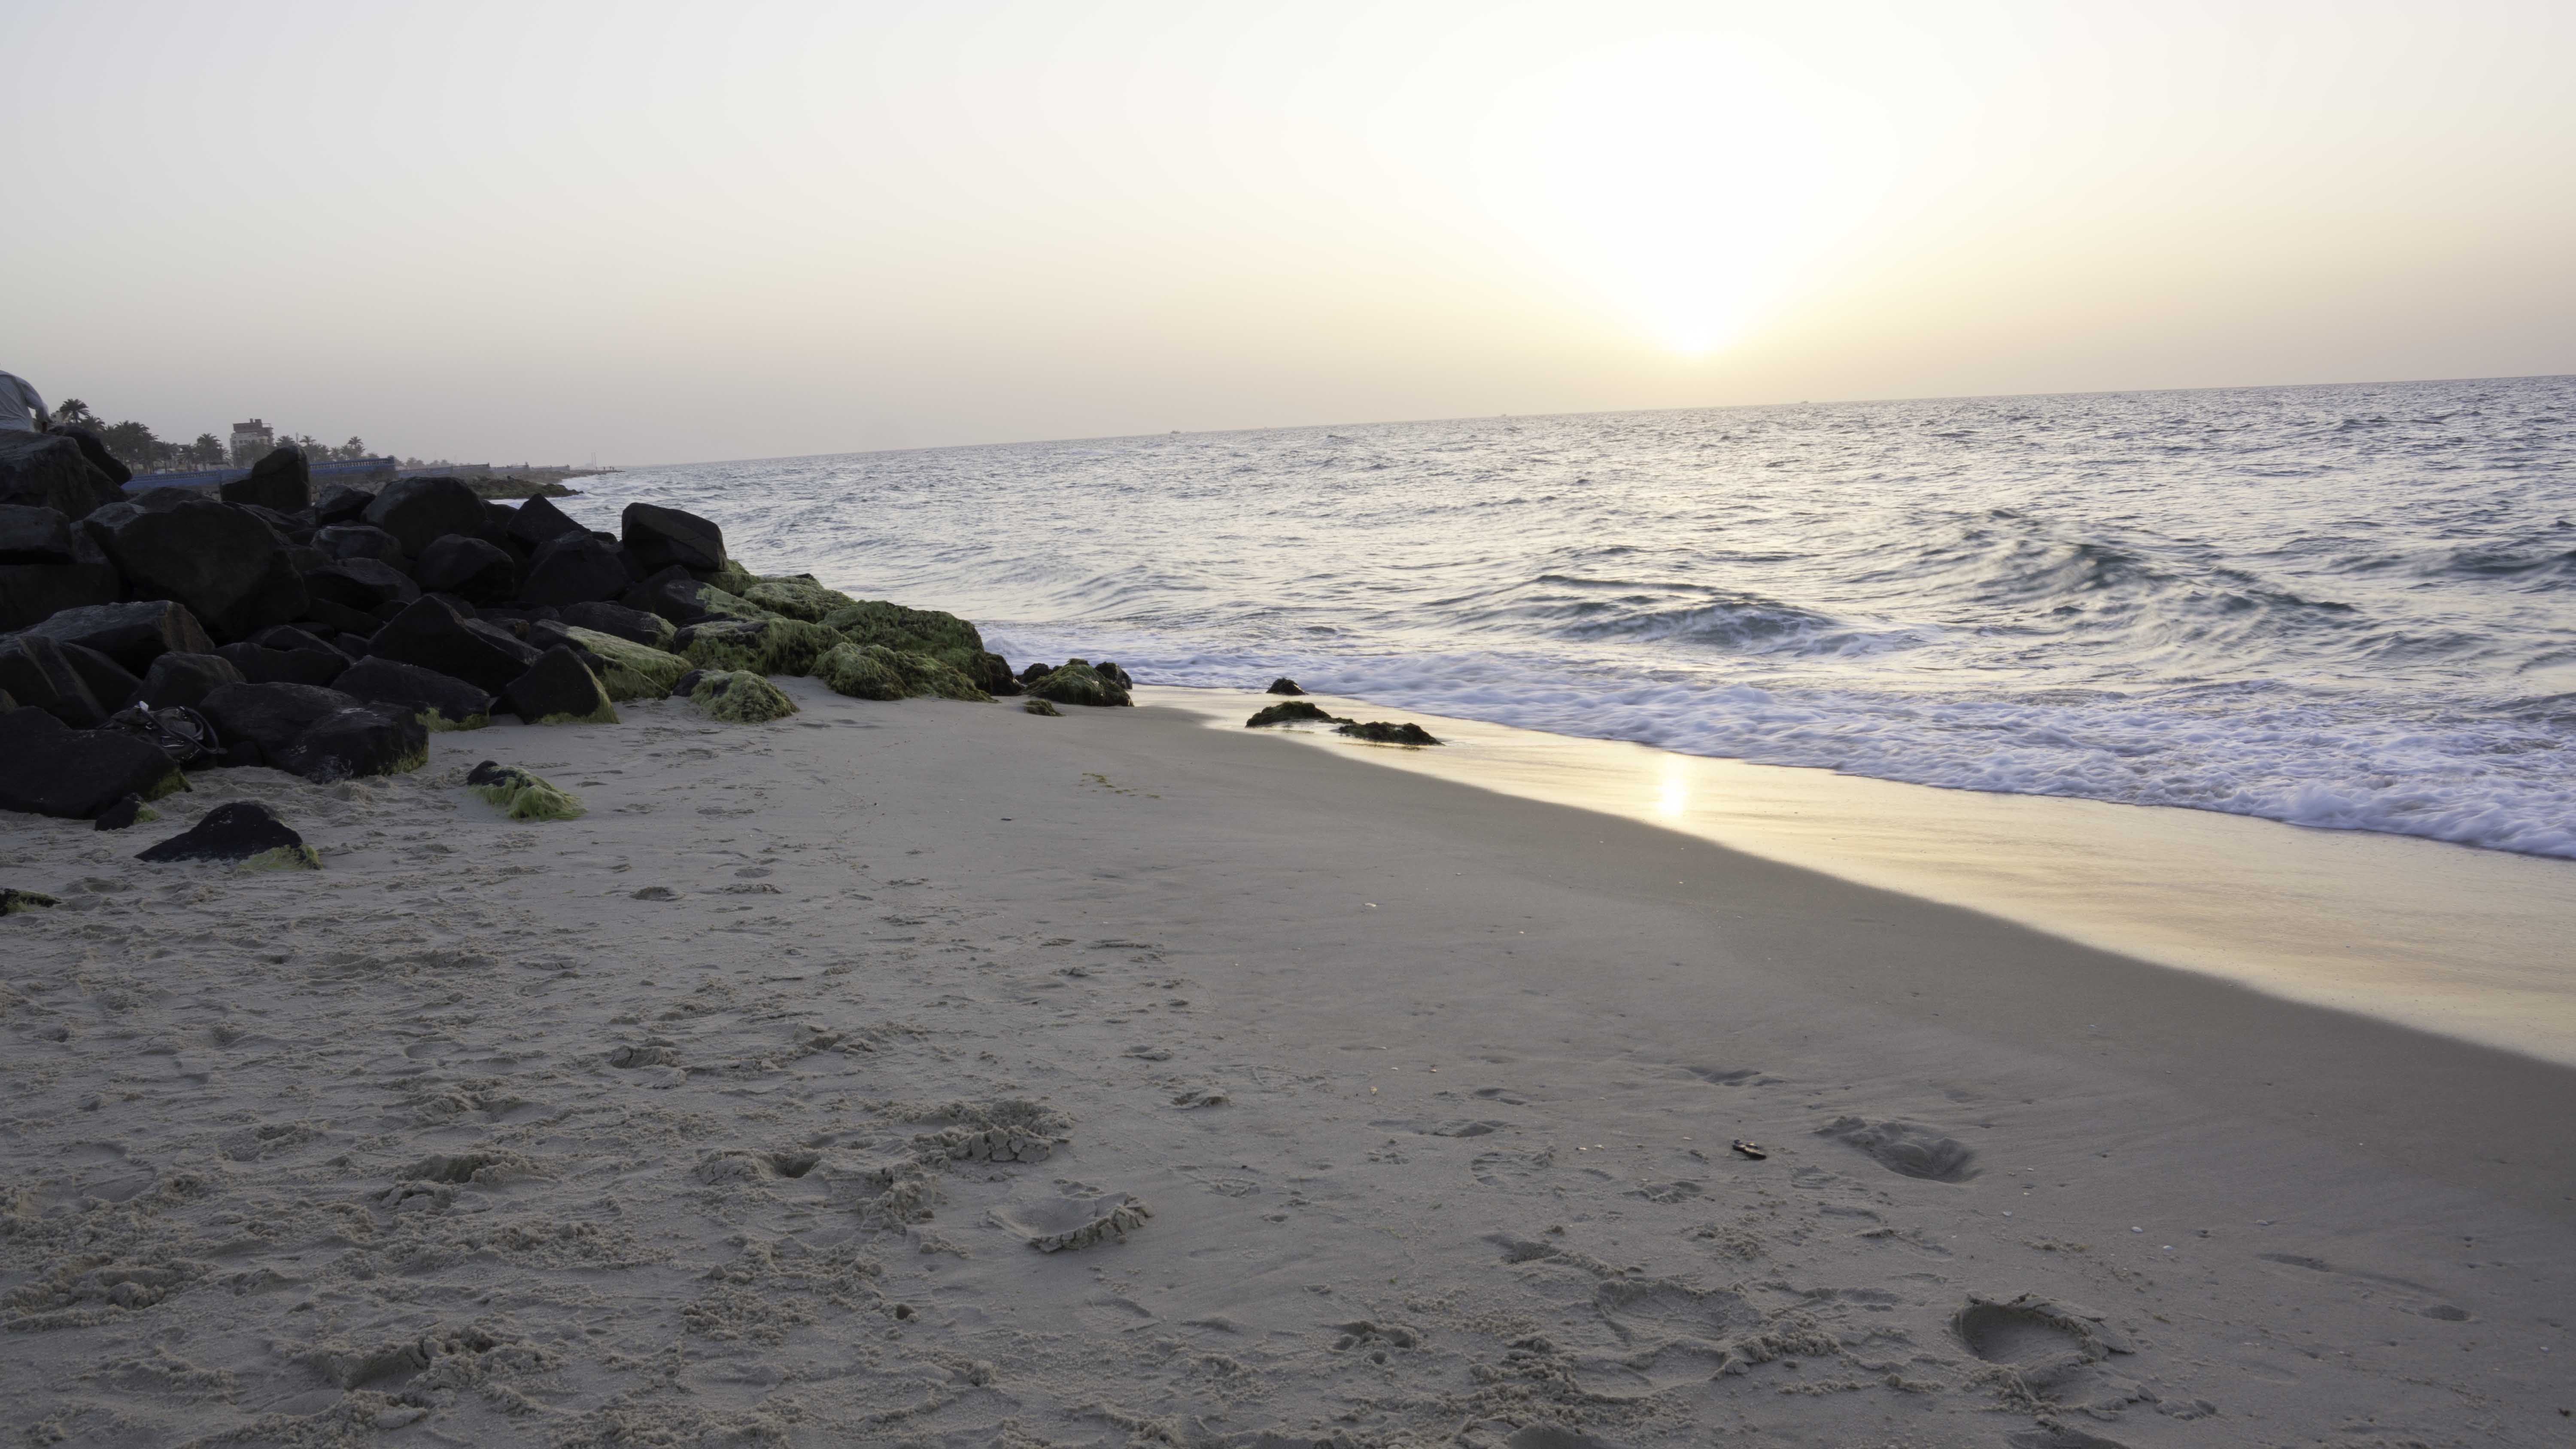
+1 (about Neutral)

| Tonemapped (Photomatix output) |
Then I decided to run another tonemapping process on the same file (Double Tonemapping). That’s what I got.

Double Tonemapped
Next stage, was to gather all 5 versions of the photo in Photoshop as layers and start masking between them to select the best sky, best sea, best rocks … best of everything. And then merged all these layers into a single file.
Now it’s time to clean up the photo. Clean up includes removing any un wanted areas like the sensor dust on the top right side, bad sand shapes formed by footprints and also removed some personal belongings were forgotten among the rocks. Clean up also includes the first stage of noise reduction and sharpening the rocks & sand. Finally, saved that file with all these modifications by Photoshop in TIF format. Here it is …
Photoshop final output
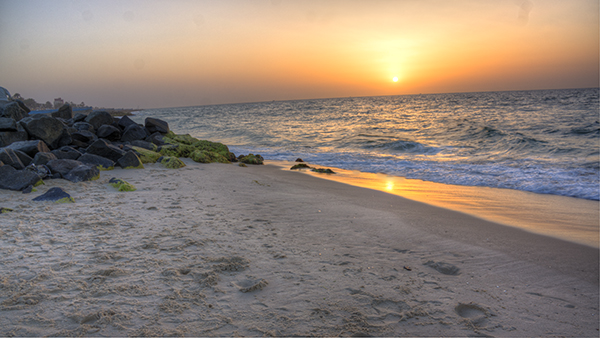
Last step was to take this Photoshop-ed file into Lightroom again for final tuning. This includes: Horizon leveling, Lighting adjustment, Noise reduction (second stage), Vignetting and adding the Watermark. Now it’s FINISHED, and is ready for sharing.
Final Image
Although it was a long process, but I feel comfortable to the final product. In a quick look, compare the final image to the Neutral exposure version to feel the BIG difference.
